How to Make Perfect Thumbprint Cookie Recipe
There’s nothing quite like thumbprint cookies to evoke feelings of nostalgia and love. These classic treats—soft, buttery cookies with a jewel-like jam center—have graced cookie platters for generations. Loved for their flavor, versatility, and appearance, thumbprint cookies are a staple during holidays, bake sales, and everyday dessert cravings. Whether you’re making them for the first time or revisiting a cherished recipe, this guide will walk you through everything you need to create the best thumbprint cookie recipe from scratch.
Grab your apron, preheat the oven, and let’s bring this timeless cookie to life!
Table of Contents
Why You’ll Love Thumbprint Cookie Recipe
What makes thumbprint cookies so special? It’s all about their simplicity and crowd-pleasing charm. Here’s why you’ll love baking (and eating!) them:
- Beginner-Friendly – Perfect for novice bakers, this recipe is straightforward and doesn’t require fancy equipment or advanced techniques.
- Versatile Fillings – From raspberry jam to chocolate or lemon curd, you can customize them to suit any taste.
- Impressive Presentation – Thumbprint cookies add a pop of color and elegance to any dessert table.
- Perfect for Holidays – These cookies are a hit during Christmas, Valentine’s Day, or any special occasion.
- Make-Ahead Magic – They stay fresh for days and are freezer-friendly, making them ideal for planning ahead.
Ingredients
To make these delightful cookies, you’ll need simple pantry staples. Here’s the ingredient list for classic jam thumbprint cookies:
For the Cookies
- 1 cup (227g) unsalted butter, softened
- 2/3 cup (135g) granulated sugar
- 1 large egg yolk
- 1 teaspoon vanilla extract
- 2 cups (250g) all-purpose flour
- 1/4 teaspoon salt
For the Filling
- 1/3 to 1/2 cup raspberry jam (or any jam of your choice)
Optional topping ideas:
- Finely chopped nuts (e.g., almonds or pecans)
- Powdered sugar for dusting
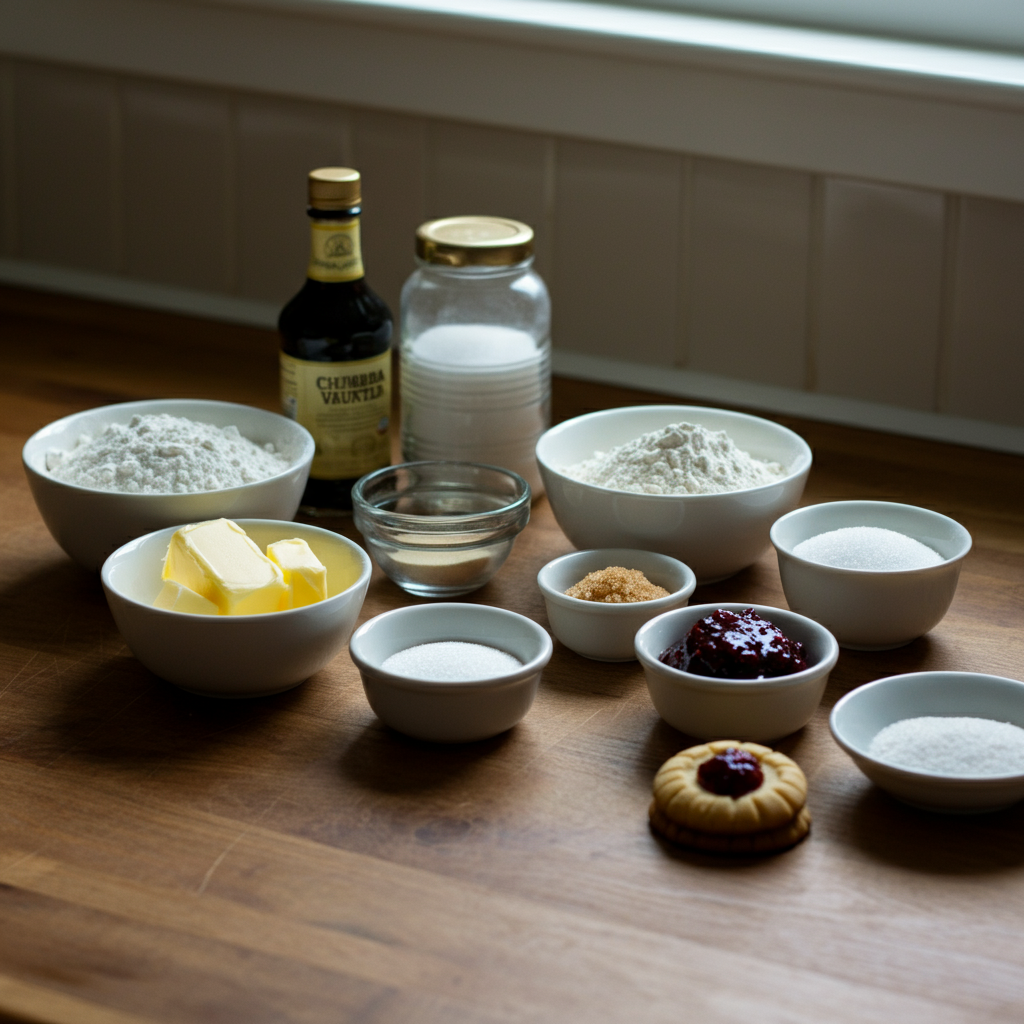
Image idea: A beautifully arranged shot of all ingredients laid out, with “thumbprint cookie ingredients” written in the alt text.
Step-by-Step Instructions
Follow these simple steps to create perfect thumbprint cookies every time!
Step 1: Prepare the Dough
- Preheat your oven to 350°F (175°C) and line a baking sheet with parchment paper.
- Cream the butter and sugar together in a large mixing bowl using an electric mixer until light and fluffy, about 2–3 minutes.
- Add the egg yolk and vanilla extract, mixing until combined.
- Gradually mix in the flour and salt, stirring until the dough just comes together. Be careful not to overmix.
Step 2: Shape and Fill
- Roll the dough into 1-inch balls and place them on the prepared baking sheet, spacing them about 2 inches apart.
- Use your thumb or the back of a spoon to gently press an indentation into the center of each ball. Be careful not to press all the way through the dough.
- Fill each indentation with a small amount of raspberry jam. Overfilling can cause the jam to spill over while baking.
Image idea: A close-up of unbaked thumbprint cookies on a tray, showcasing their indentations filled with raspberry jam. Alt text could read, “Unbaked raspberry-filled thumbprint cookies on tray.”
Step 3: Bake and Cool
- Bake the cookies in the preheated oven for 12–15 minutes, or until the edges are lightly golden.
- Allow the cookies to cool on the baking sheet for 5 minutes, then transfer them to a wire rack to cool completely.
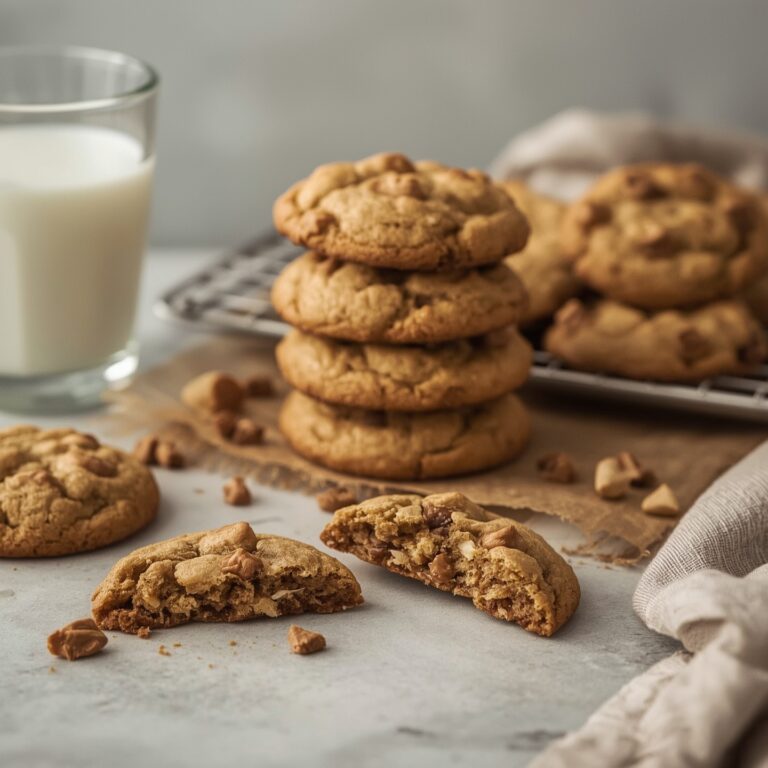
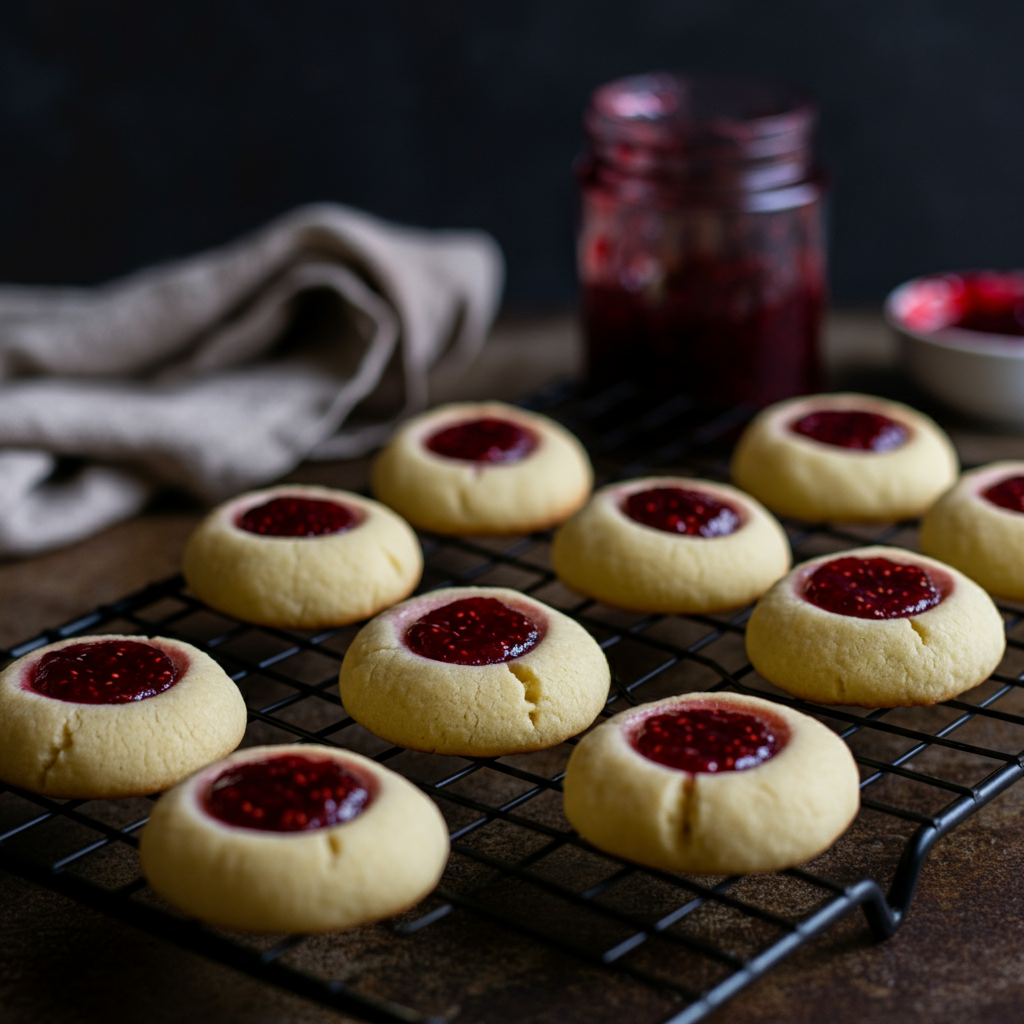
Image idea: A shot of freshly baked cookies cooling on a wire rack. Alt text might read, “Freshly baked thumbprint cookies cooling.”
Tips & Variations
To take your thumbprint cookies to the next level, try these expert tips and fun variations:
Baking Tips
- Prevent Cracking – Chill the dough for 15–30 minutes before shaping to ensure smooth, crack-free cookies.
- Jam Overflow – Fill the indentations sparingly; too much jam can spill over during baking.
- Uniform Size – Use a cookie scoop to ensure evenly sized cookies that bake uniformly.
Delicious Variations
- Vegan Thumbprint Cookies – Replace butter with vegan butter and use aquafaba or a flaxseed “egg” instead of the egg yolk.
- Chocolate-Filled – Swap the jam for melted chocolate or Nutella for a rich, indulgent twist.
- Nutty Crunch – Roll the dough balls in crushed nuts before pressing and filling them.
- Zesty Flavors – Add a teaspoon of lemon zest to the dough for a bright, citrusy flavor.
Storage & Freezing
One of the reasons thumbprint cookies are so beloved is their durability. Here’s how to keep them fresh and ready to serve any time.
- Storage – Place cookies in an airtight container at room temperature for up to 5 days. To extend freshness, store them in the refrigerator for up to 7 days.
- Freezing Baked Cookies – Layer cookies with parchment paper in a freezer-safe container and freeze for up to 3 months.
- Freeze Dough – Roll the dough into balls and freeze them on a tray. Once solid, transfer them to a freezer bag. Thaw before baking and filling with jam.
FAQs
What is the best jam to use for thumbprint cookies?
Raspberry jam is a classic choice, but feel free to use your favorite variety! Apricot, strawberry, or even marmalade work beautifully. Look for smooth jams or jellies for easy filling.
Why did my thumbprint cookies spread or crack?
This can happen if your butter was too warm or soft. Chilling the dough can help. Cracks may also appear if the dough is too dry—measure flour carefully to avoid overpacking.
Can I make vegan thumbprint cookies?
Absolutely! Substitute vegan butter for regular butter and use a flax egg (1 tablespoon flaxseed meal + 2.5 tablespoons water) as an egg yolk replacement.
Can I freeze thumbprint cookie dough or baked cookies?
Yes! Both options freeze well. Follow the storage and freezing tips above for best results.
How long do thumbprint cookies stay fresh?
When stored in an airtight container, thumbprint cookies generally stay fresh for 5–7 days. Freezing can extend their shelf life for up to 3 months.
Final Thoughts
Thumbprint cookies are a joy to bake, share, and enjoy, whether you’re whipping up a batch for the holidays or simply for an afternoon treat. Their adaptability and charm make them a favorite of beginners and seasoned bakers alike. Now that you have the recipe, why not give it a try?
We’d love to hear how your thumbprint cookies turn out! Share your experience in the comments below, and don’t forget to check out our Edible Cookie Dough for One (No Eggs, No Bake & So Easy!) or The Best Coffee Cookie Recipe You’ll Ever Bake for even more baking inspiration also check Grandpa’s Healthy Thumbprint Cookies {Recipe Video!}
Happy baking!